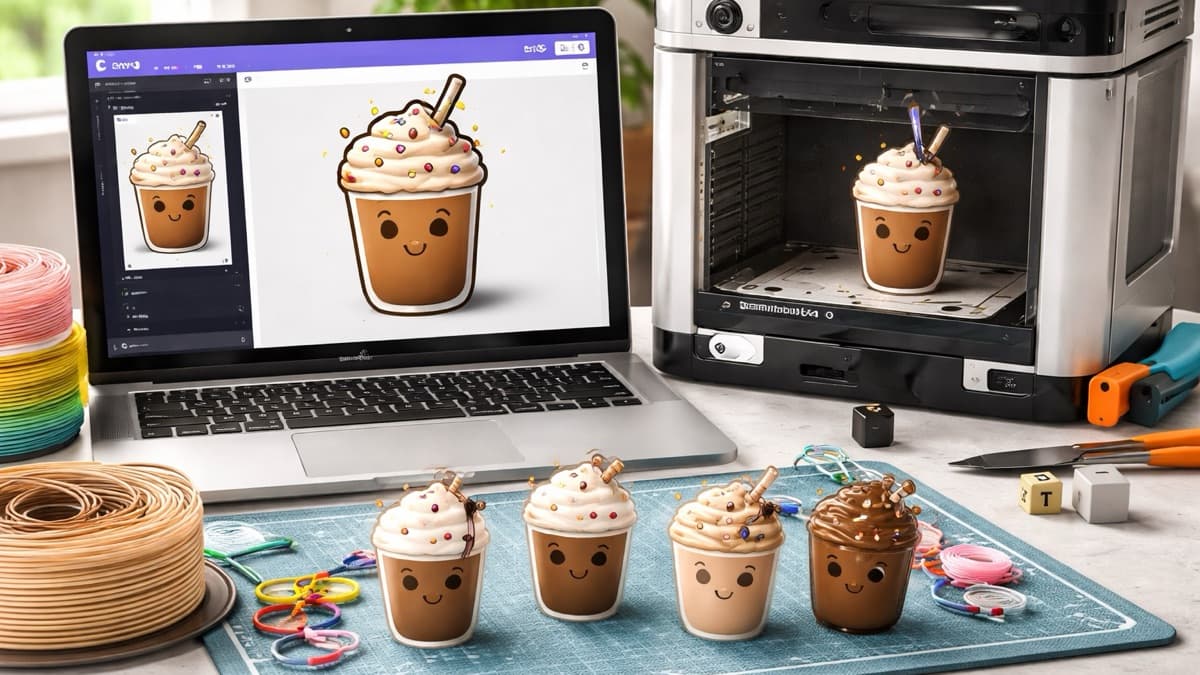
PNG → 3D PRODUCT
$39.99
If you already have PNGs sitting on your computer, this is exactly what you’ve been missing.
This training walks you step-by-step through the exact workflow I use to turn a simple PNG file into a finished 3D printed product — no guessing, no confusion, no wasted materials.
We’re going from digital file to physical product the right way.
Inside this training, you’ll learn how to:
Take your PNG and properly prep it inside Canva Pro so it’s ready for 3D
Avoid common beginner mistakes that mess up your final print
Import your file into Bambu Studio the correct way
Set up your plate so your design prints clean and professional
Understand slicing so your layers come out right
Prepare your file for print without wasting filament or time
Go from design → slice → finished product with confidence
This is not theory. This is the real process.
If you’ve been:
Sitting on PNGs and not knowing what to do with them
Confused about Bambu Studio settings
Wasting time trying to figure out slicing
Or just ready to turn your designs into something you can actually sell
This is for you.
What makes this different:
This is a beginner-friendly workflow, but it’s also structured so you can actually get results fast. You’re not learning random steps — you’re learning a repeatable system you can use over and over again.
Once you understand this, you can take almost any design and turn it into a product.
What you’ll need:
3D Printer (or access to one)
PNG file
Silhouette Business Edition
Tinker Cad (Free)
Slicer Program
If you’re ready to stop guessing and finally understand how to go from PNG to a real product, go ahead and grab this training and start creating.