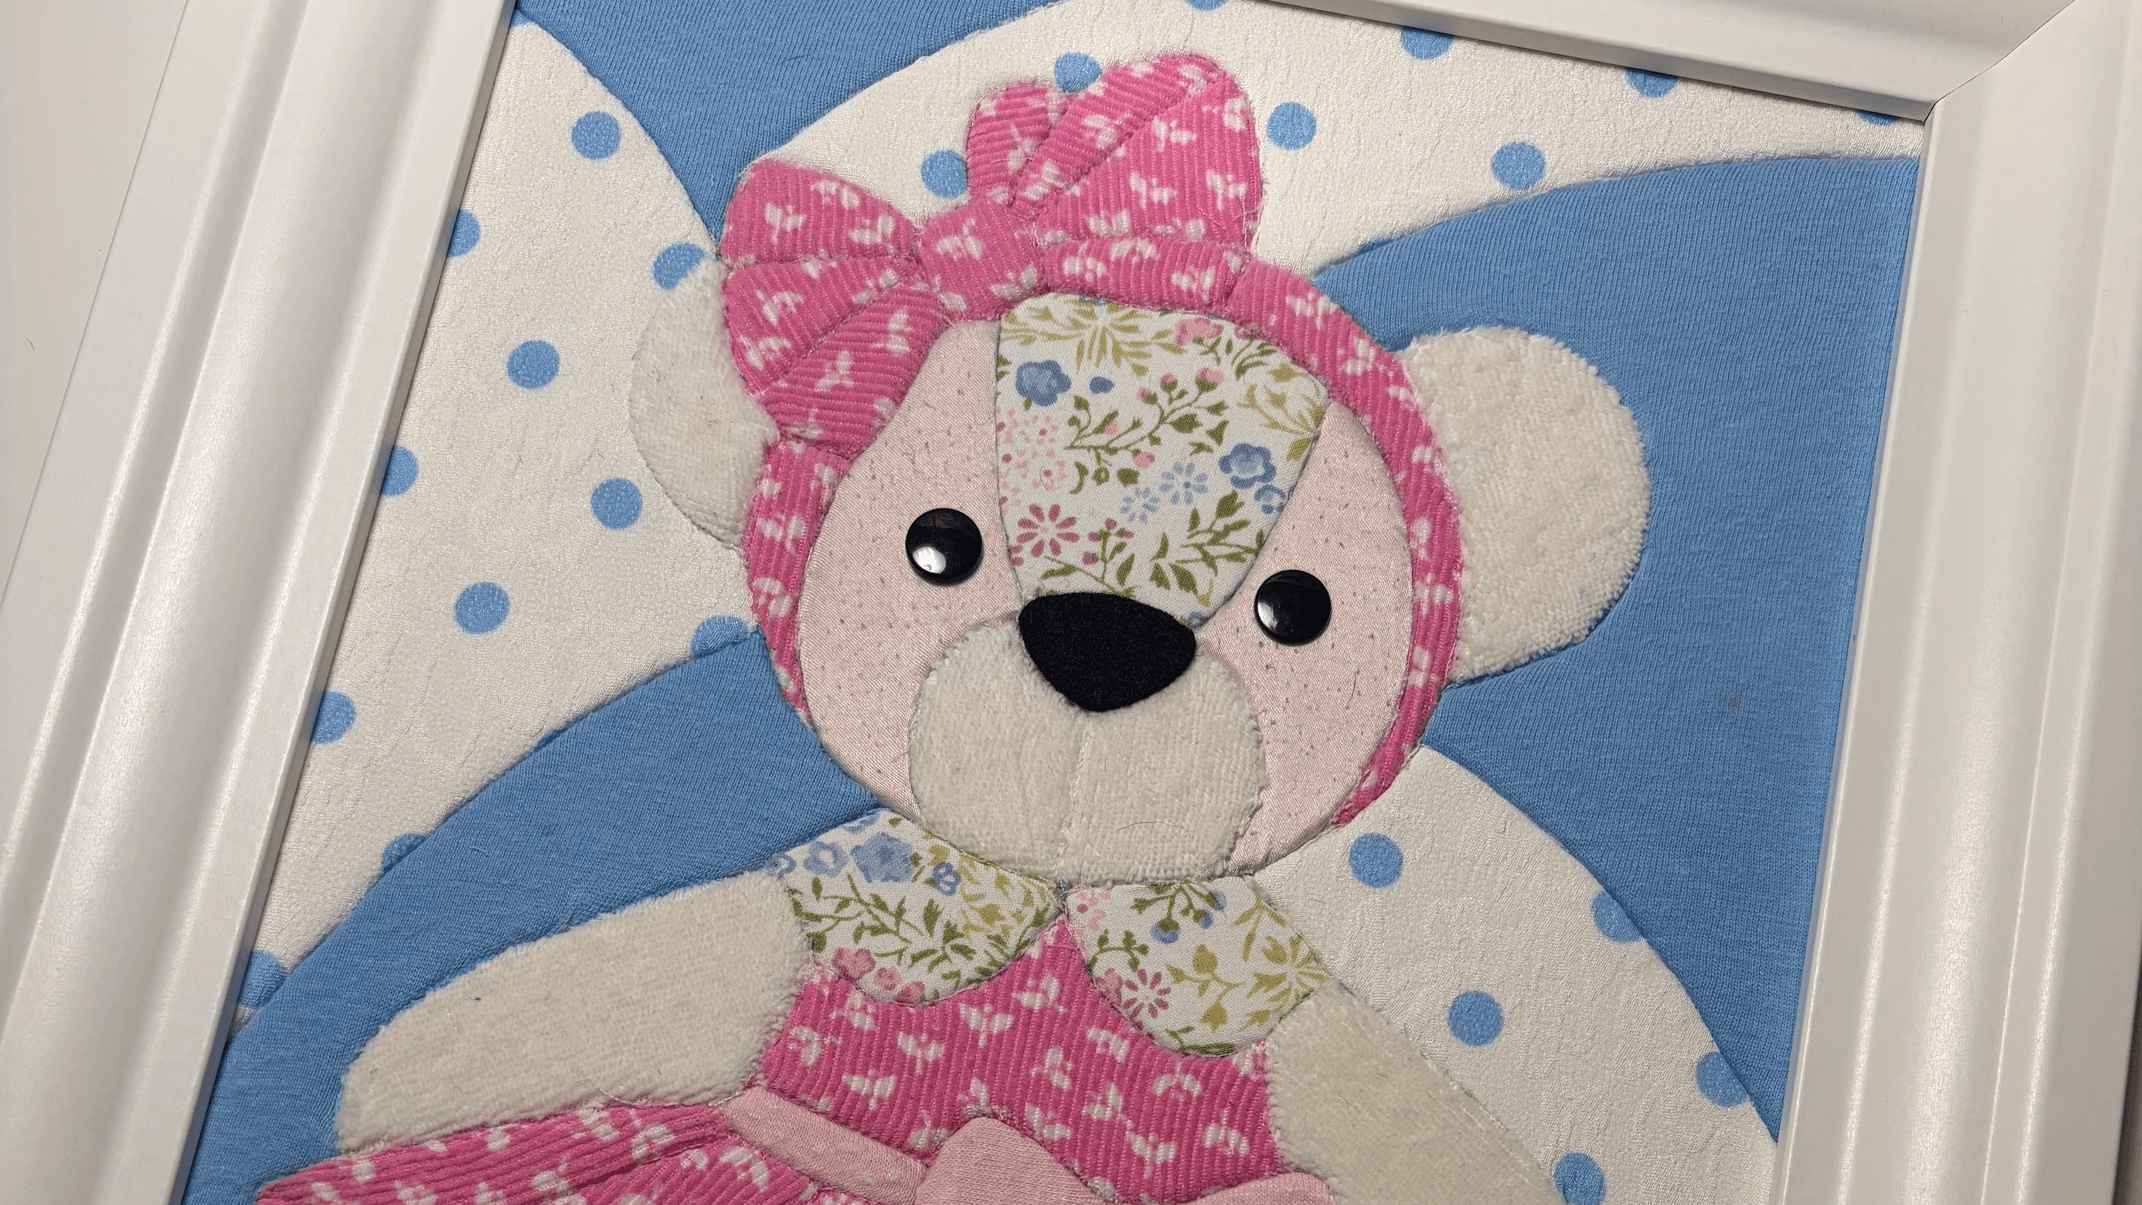
My Keepsake Kinusaiga Design 🫶🏼
£3.99
Want to make your own version of the keepsake frame you saw in my video? 🥹❤️
This is the printable design I created and used for my Kinusaiga-style baby clothes keepsake, so you can have a go at making one yourself using your own little one’s clothes.
You’ll receive two versions of the design:
🫶🏼 Girl version – as shown in my video
🫶🏼 Boy version – wearing a little jumper and cap
The designs are provided as simple outlines, as this is what you need for the Kinusaiga technique. The lines show you where to cut the grooves into your foam board before adding and tucking in your fabrics.
I haven’t shown the full boy design online because I’d quite like you lovely people who actually buy it to be the ones who get it! 🥰
A quick guide to how I made mine:
1. Get your design onto the foam board
You can draw directly onto the peelable paper side of the foam board or trace the design onto it. I personally removed the whole sheet of paper, ran it through my printer to print the design directly onto it, then carefully stuck it back onto the foam board.
2. Cut the design
Using a Stanley/craft knife, carefully cut along all of the lines of the design, cutting into the foam but leaving the paper in place.
3. Work one section at a time
Peel the paper away from one section. I used the piece of paper I’d just removed as a rough guide for how much fabric I needed, leaving a little extra around the edges for tucking.
4. Add your fabric
Place your fabric over the exposed section and gently use a seam ripper to tuck the edges into the grooves you’ve cut. Then move onto the next section and repeat! 🥰
Take your time and enjoy it — I found this SO relaxing to make 🫶🏼
Please note: This is a digital download of the outline designs only. No physical product, finished artwork, foam board, frame, fabric or tools are included.
I’ve also put together links to the foam board, frame and tools I used so you can easily find everything you need 🫶🏼
For personal use only. Please do not copy, share, redistribute or resell the designs. ❤️