TL;DR
A lead magnet is a free resource—like a guide, checklist, template, or waitlist—that your audience trades their email address for, so you’re growing an audience you own instead of one you rent from a social platform. To set one up on Stan Store, head to your My Store tab, press Add Product, and choose Collect Emails/Applications. Add your image and copy, pick what info to collect beyond name and email, upload your freebie or paste a link, and personalize your confirmation email so it delivers the file. Then hit Publish and download it yourself to make sure the whole experience works.
You’ve worked hard to build a social media following—an audience that trusts you and your Creator brand. But the reality is, that audience could disappear tomorrow.
Social media is rented land. You’re at the mercy of an algorithm and social platforms that can go dark or randomly shut your account at any time. And if your entire audience is dependent on a social app, your Creator business could disappear with it.
That’s why it’s so important to build an audience you own, like an email list. And a lead magnet is how you start building one.
Welcome to the Stan Store Success Series with Professor T! In this lesson, we’re breaking down how to turn your followers into subscribers with a lead magnet.
By the end, you’ll know what a lead magnet is, how to build one inside your Stan Store in a few minutes, and how to make sure your freebie hits your customer’s inbox the second they hand over their email.
I’m Professor T 👋 My job is to help Creator-Entrepreneurs like you turn an audience into a business with Stan Store. No website, transaction fees, or complex setup—just a simple link in bio store where you can sell digital downloads, courses, communities, coaching, and more and start converting.
Stan Creators have earned over $600M on the platform so far, and my goal is to help you become one of them.
In this lesson, we’ll cover:
💜 What a lead magnet is and what makes a good one
💜 Why every Creator should have at least one lead magnet, even without email marketing
💜 Where to find the Collect Emails product inside your Stan Store
💜 How to write copy and choose info fields that get people to submit
💜 How to upload your freebie and add it into your confirmation email
Let’s get into it.
Prefer to watch and follow along? Check out the full lesson right here or get access to more tutorials inside Stan’s Success tab 👇
Heads Up! You can add a lead magnet no matter which Stan Store plan you have, so you can start growing your email list on day one. And when you’re ready, you can unlock advanced features, like email marketing tools to engage your list, with Stan Store’s Creator Pro plan./
What’s a Lead Magnet?
A lead magnet is a free resource you give your audience in exchange for their email address.
Someone lands on your Stan Store, sees your freebie, enters their contact info, and gets it delivered to their inbox once they hit submit. You get a new lead you can continue to nurture, and they get valuable, free content.
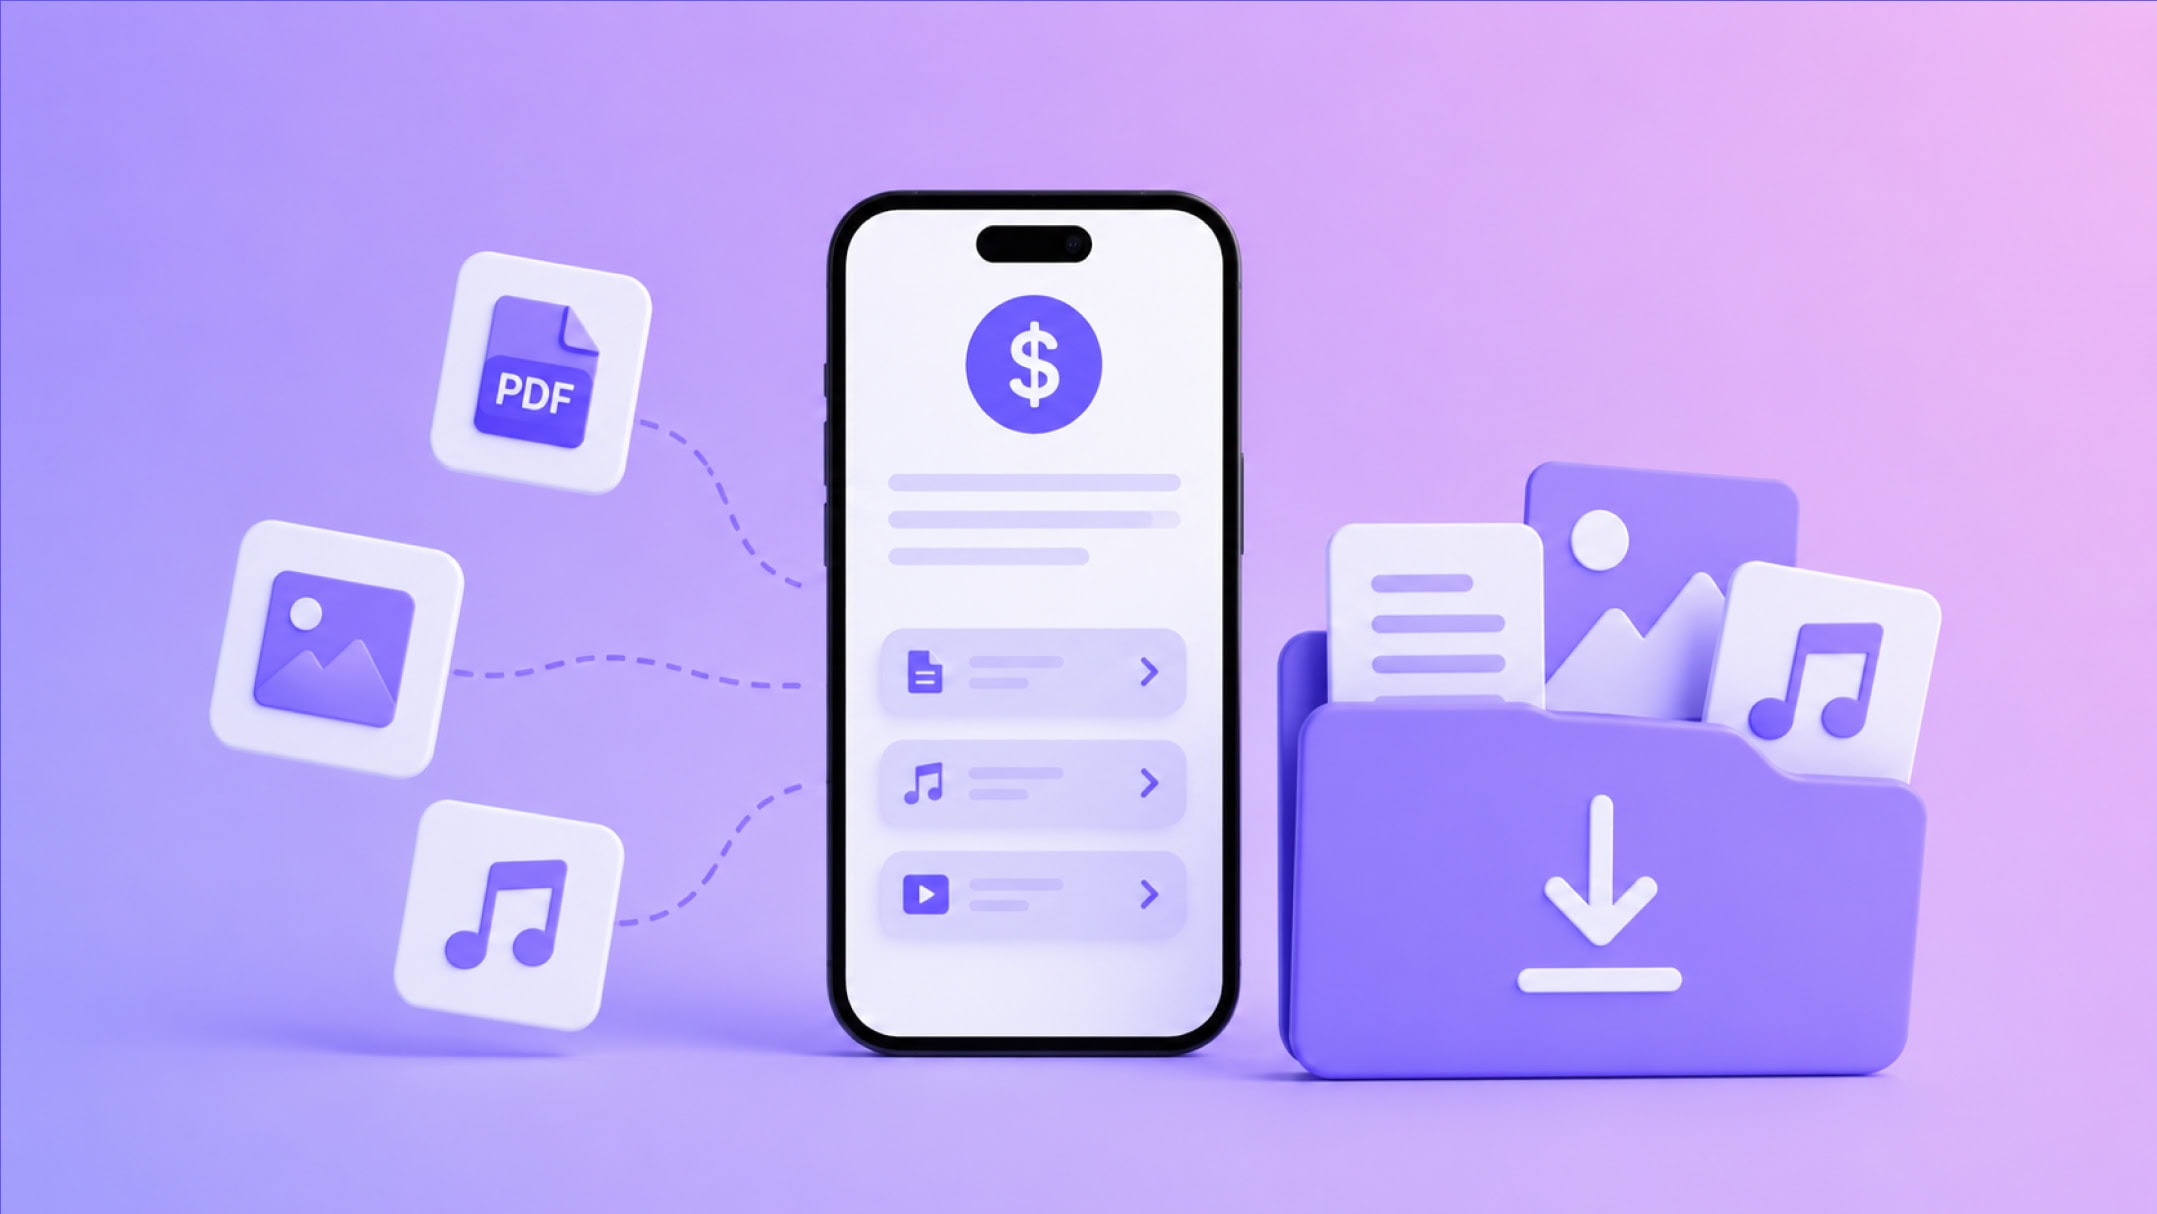
A great lead magnet can take many different forms. It can be almost anything, as long as it’s free and worth having. The perfect resource for your Creator business might be a:
- Waitlist for an upcoming offer
- Digital guide
- Checklist or cheat sheet
- Budget tracker
- Notion template
- Swipe file
- Short video training
- Downloadable pdf
If it’s valuable to your audience, you can offer it as a lead magnet. The best lead magnets are usually hyper-focused on one idea. One page that solves one problem beats a 40-page ebook every time, because your audience gets a quick win instead of homework.

💡 Want more lead magnet ideas? We’ve got you covered. Here are 10 lead magnet examples from real Creators, plus the top lead magnet types, what to include (and what not to), and how to promote yours.
Why You Need a Lead Magnet As A Creator-Entrepreneur
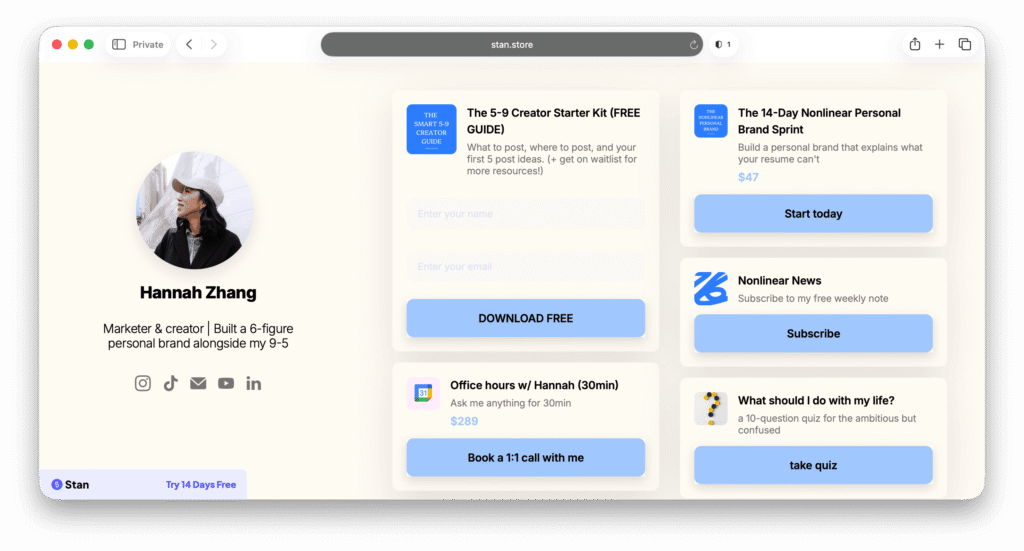
A lead magnet builds trust while quietly building something even bigger: ownership. Because the hard truth is, if your entire business is built on a platform you can’t control, its future is at risk.
Ownership is how you build a brand that lasts. By building audiences you own. Offers you own. And a personal brand no one can take away from you.
Need more convincing? Let me break it down for you.
You Build an Audience You Own
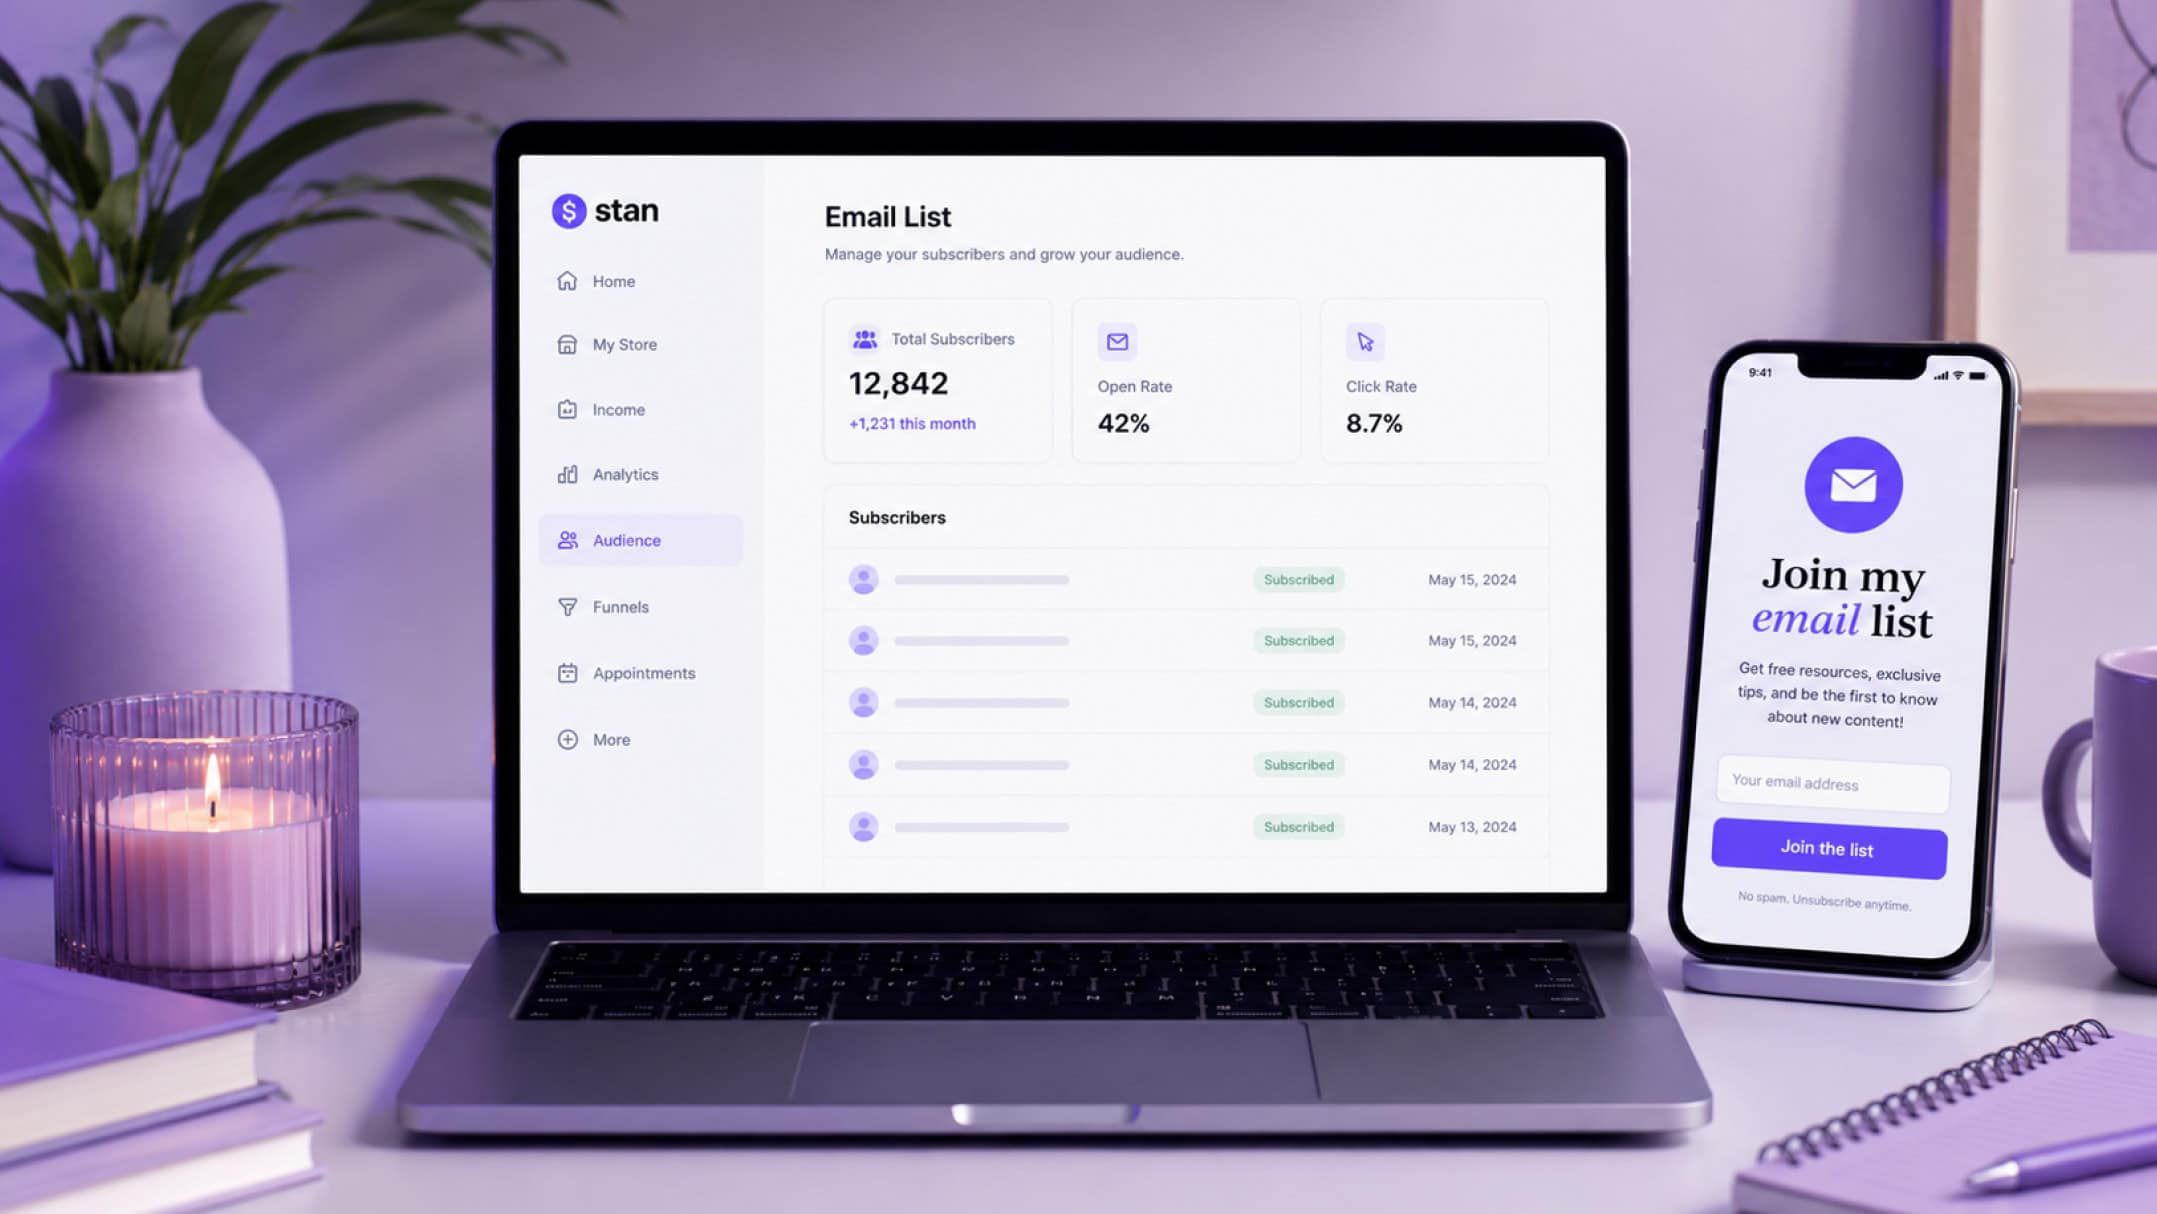
Unlike your social media following, your email list is yours. It’s the one audience that stays with you no matter what platform you use. Plus, you don’t need to get an algorithm to be seen—email gives you a direct line of communication with your audience.
And you don’t need to be running email campaigns today for this to matter. Build the list now so it’s already there when you need it—whether that’s the day you launch your first paid offer or the day a platform you rely on stops working the way it used to.
You Deliver Value Before You Ever Ask for Money
When you start your relationship with a new subscriber with a great lead magnet, that’s a strong first impression. It builds trust with your audience. And trust is what makes someone open your next email, watch your next video, and eventually buy from you.
You Can Give People a Taste of What You Sell
This is the part most Creators miss. Your freebie can be a preview of your paid products—a single module from your course, one section of a bigger guide, a sample of the work you do with clients.
If you’re strategic about things, your lead magnet can do two jobs at once: grow your list, and show people exactly what they’re missing on the paid side.
So when you’re choosing what to give away, pick something that solves one small problem for your target audience—the people you eventually want to sell to. A freebie that pulls in the wrong crowd fills your list with people who will never buy. But one that attracts the right audience gives them a quick win and builds a list of leads you can turn into sales.
How to Set Up a Lead Magnet on Stan Store
Before we dive into setting up your lead magnet in Stan Store, make sure you have your freebie ready—either as a file on your computer or a link you can share.
And if you’re just getting started, you can create lead magnets with tools like Canva, Notion, and Google Docs.
Now let’s open your Stan Store and start building.
Step 1: Add the Collect Emails Product to Your Stan Store

Head to your My Store tab and press Add Product. You’ll see all the product types you can add to your store. Choose the Collect Emails/Applications product to enter the builder.
Choose Your Image
The thumbnail builder here works the same way it does for every other Stan Store product type, so if you’ve built a digital download before, this will feel familiar.

Start with your image. You can pull from Stan’s built-in library, or upload something you created specifically for this freebie. I’d push you toward the second option—an image that shows a mockup of the actual freebie they’re about to receive does a lot of the convincing for you.
Write Your Title and CTA Copy
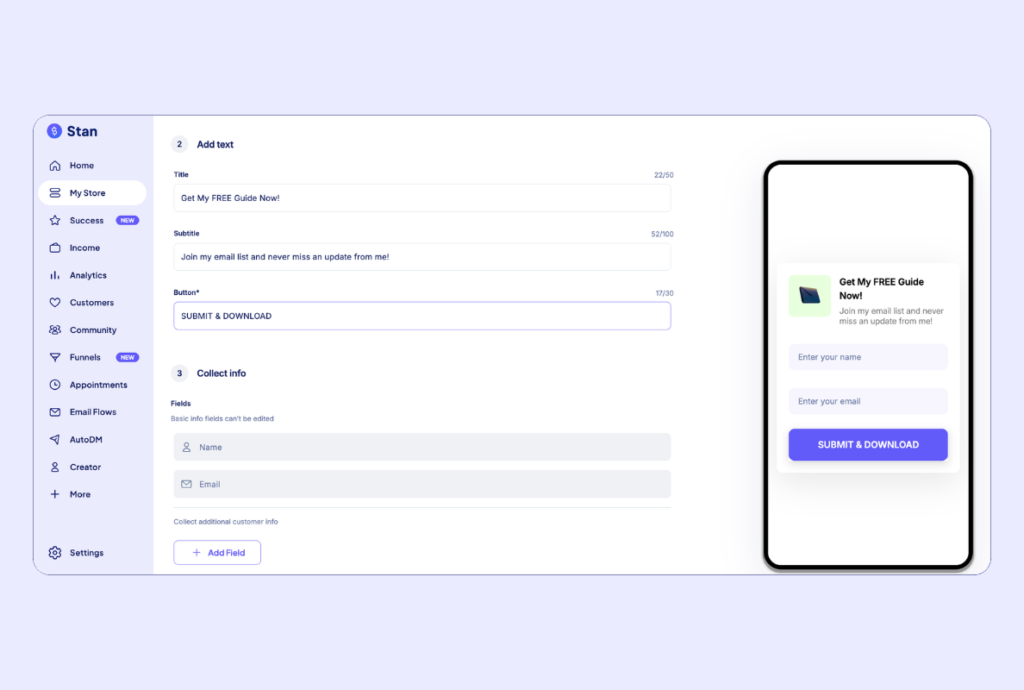
Give your lead magnet a title that matches exactly what they’re getting. If it’s a guide, put something like “Get My Free Guide Now.” If it’s a checklist, “Get My Free Checklist Now.” You get the idea.
Your subtitle is where you get them to hit subscribe. Lead with compelling copy like, “Free budget checklist to get your finances in order.” This tells them the outcome, not just the format.
Finally, update your call-to-action button with action-oriented copy that matches your brand voice. I typically use simple button copy like Submit or Download, but you can tailor it to your vibe.
Pro Tip: Write your button text before you write your title. When you know exactly what action you’re asking for, the rest of the copy tends to fall into place around it.
Set Up Your Info Collection Fields
Scroll to the Collect Info section. Name and email are always there by default—these are non-negotiable. You’ll need their email address to contact them, and having their name will allow you to personalize every email so it sounds like you’re writing it specifically for them.
But you can also go a layer deeper by collecting extra fields before handing over your lead magnet. Press +Add Field and choose what type of info you want to collect. You can choose from:
- Phone number
- Text response
- Multiple choice
- Dropdown
- Checkboxes
Then, customize the field with a descriptor so they know what you’re looking for. You can ask for anything that helps you understand your new email subscribers. I like asking for an Instagram handle, so I can see who these people are, if they’re following me, and what they’re posting about.
But remember: Every field you add is one more thing standing between your customer and the download, so be intentional about how many fields you add. If a field matters enough that you want it filled in every time, toggle Required on—they won’t be able to submit without filling these out.
When your fields are set, press Next.
Step 2: Upload Your Freebie
Now, it’s time to transform your lead magnet from just a form into a real product.
If your freebie is a file on your computer—like a PDF checklist, a workbook, a template pack—press Upload under the upload file section and grab it from your files.
If it lives on the web—like a Canva design, a Notion page, a public Google Doc, or an unlisted YouTube video—drop the URL in the link field instead.
You can name that link whatever you want, so your customer sees something descriptive like, “Budget Checklist” rather than a long string of characters. Once your freebie is loaded, move on to the Options section.
Step 3: Personalize Your Confirmation Email
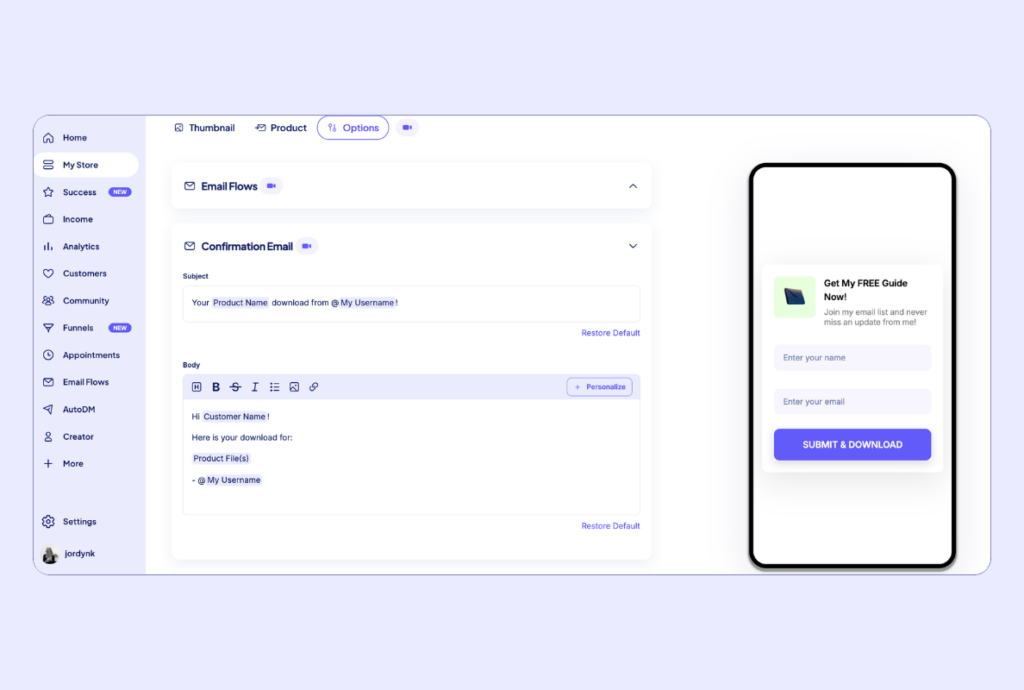
Don’t skip this step—it can make or break the trust you’ve built with your audience, and prevent subscribers from accessing your lead magnet.

Your confirmation email is what delivers the freebie. Without it, someone hands you their email address and gets nothing back—which is the fastest way to lose a lead you just earned.
Within the Options tab, click Confirmation Email and customize the default subject line and body text.
You’ll notice little purple bubbles around some of the words. Those are personalization tags, and they auto-populate with live information when the email sends.
- Product Name pulls in your freebie’s title.
- My Username pulls in your Stan Store handle.
- Customer Name pulls in whatever they typed into the name field.
Now, rewrite the body of the email in your voice. This is your first point of contact with your brand new subscribers, so make it sound like you—not a receipt. You can add images and links here to make it feel more engaging, too.
Before you exit the email builder, press + Personalize and confirm the Product File tag is in your body copy. That tag will contain the file or link to your lead magnet that you just uploaded, so make sure it’s in there.
Pro Tip: Add one line at the bottom of your email signaling what they can expect from you next. It could be a series of emails, a bonus video tutorial, or a call-to-action to stay tuned for more on your social accounts. Adding something like, “Keep an eye on your inbox—I send new breakdowns every Tuesday” can turn one download into an ongoing relationship.
Step 4: Publish It to Your Storefront
Ready to push your lead magnet live and start growing your email list? Hit Publish, and people will instantly be able to download it from your Stan Store.
Not ready to go live with it just yet? You can press Save Draft and come back to it later.
Step 5: Experience The Customer Journey Yourself
Before you drive traffic to your Stan Store’s lead magnet, take two minutes to test it out yourself and ensure everything delivers the way you want it to. All you have to do is head to your storefront and click into your freebie as though you’re a visitor.
Fill in your name, your email, and any custom field you added, then press Submit.
You should see a confirmation that reads “You’re in. I’ll be in touch with you soon.” That’s your signal the lead was captured.
Next, check your email inbox. The confirmation email should be sitting there with your freebie inside. If you don’t see it within a few moments of submitting, check to make sure it’s not inside your spam folder.
And that’s it! You’ve launched your lead magnet, giving your audience free value that gives them a taste of what you’re capable of. And building a list of people who are excited about your brand and what you have to offer. It’s a win-win.
Build an Audience You Own With Stan Store
You’ve got a live lead magnet on your Stan Store and a growing list of people who want what you’ve got to offer. A lead magnet does more than give your audience something free—it helps you build a more sustainable business.
Every download adds someone to an email list you own. An audience no platform can take away from you. And because they signed up for a freebie on a specific topic, you already know they’re interested in what you do. That’s a filtered list of potential customers, not just a follower count.
So keep showing up in their inbox with value. Nurture that relationship over time, and when your next offer is ready, you’ll be selling to people who already want it.
Want more simple tips to grow your Creator business faster? Stan’s Success tab has everything you need—with more lessons and tutorials from Professor T. Try it yourself with a 30-day free trial of Stan Store.
FAQ: Stan Store Lead Magnets
No. The Collect Emails/Applications product is available on every Stan Store plan, so you can start building your list right away. You’ll want Creator Pro when you’re ready to email that list with Stan’s built-in email marketing tools.
Anything free that solves one specific problem for the exact person you eventually want to sell to. Checklists, one-page guides, templates, swipe files, waitlists, and mini trainings all work well. Keep the content focused—a quick win your audience can use the same day tends to boost conversions better than something long and comprehensive.
Yes. Stan Store lead magnets collect name and email by default, but you can add custom fields in the Collect Info section for anything else you want to know. For example, maybe you want to ask for their Instagram handle, niche, or goal—information that tells you more about who they are and what they’re looking for.
Toggle Required if you want the field filled in before someone can submit. Just keep the list short, since every extra field adds friction.
Nope. You can upload a file directly or paste a link to anything hosted on the web—a Canva design, a Notion page, a public Google Doc. You can also rename the link so it displays cleanly to your customer instead of showing a raw URL.
Your customer submits their information and receives an email with no way to access the freebie. That’s why the Product File personalization tag is the one piece of the confirmation email you should check twice before publishing.
Yes. The list you build today is the list you’ll have when you’re ready to send your first campaign or launch your first paid offer. Starting now means you’re not building an audience from zero later on.
Put your Stan Store link in every social media bio you have, then reference the freebie in your content. Explain the problem it solves and tell people exactly where to grab it.