TL;DR
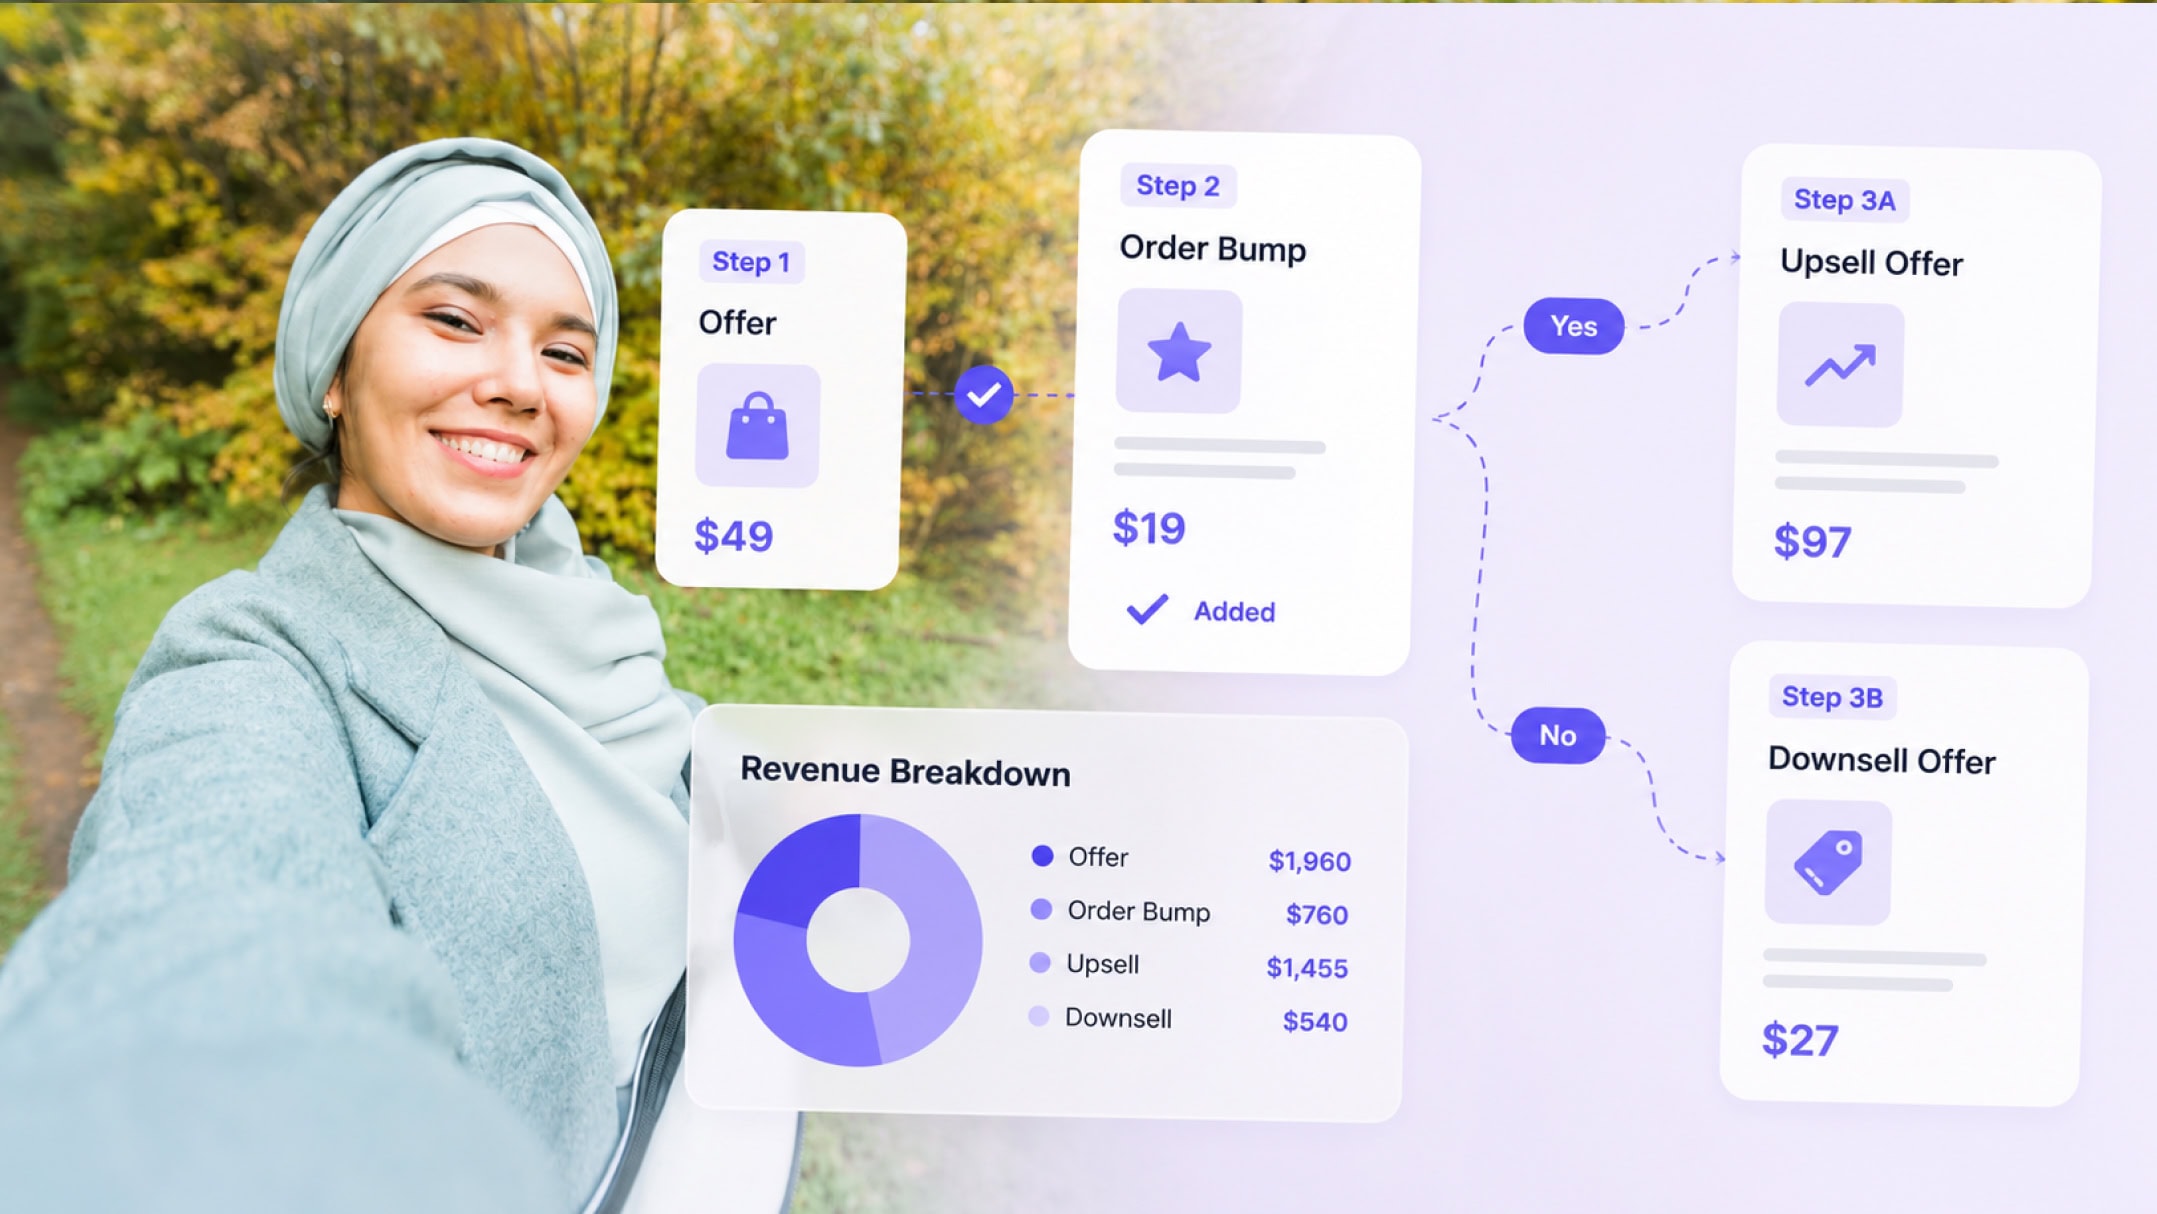
Stan Store Funnels let you automatically show customers additional offers after they buy—so one sale can turn into two or three. To set one up, enable Funnels under the More tab in your Stan Store, then build out your pages: an entry point, a decision offer, an upsell if they buy, and a downsell if they skip. Preview your customer journey, publish to your store, remove the word “Funnel” from any customer-facing copy, and bam—your Funnel is ready to start selling!
Welcome to the Stan Store Success Series with Professor T! In this lesson, we’re going deep on one of the most powerful tools available to Stan users: Funnels.
By the end, you’ll know exactly what a Funnel is, why you need one, and how to build a Funnel from scratch inside your Stan Store.
If you’re new here, I’m Professor T 👋 Your guide to getting the most out of Stan Store—the go-to link in bio store for Creators who want to sell digital products, online courses, communities, and more without five different tools or endless tech hurdles.
So far, we’ve helped Creators earn over $600M—and I want you to be one of them. So I’m teaching you everything there is to know about running an online business on Stan Store, converting followers into customers, and maximizing your business growth as a Creator.
In this lesson, we’ll cover:
💜 What Funnels are and why they exist
💜 Where to find and enable Funnels inside your Stan Store
💜 How to build a Y-shaped Funnel with an upsell and a downsell
💜 What the whole thing looks like from your customer’s point of view
Prefer to watch and follow along? Check out the full lesson right here or get access to more tutorials inside Stan’s Success tab 👇
Let’s get into it.
Heads Up! Funnels are a Creator Pro feature. So if you’re already on the Creator Pro plan, follow along within your Stan Store account. And if you’re on the Creator plan right now, hang with me anyway—this might be exactly what helps you decide whether the upgrade is worth it.
Understanding What a Funnel Actually Is
So what exactly are Funnels? Good question.
Funnels are essentially a way to ensure that, after a customer buys one of your Stan Store offers, the sale doesn’t end there. You’re guiding them from sales page to sales page—maximizing your average order value every step of the way.
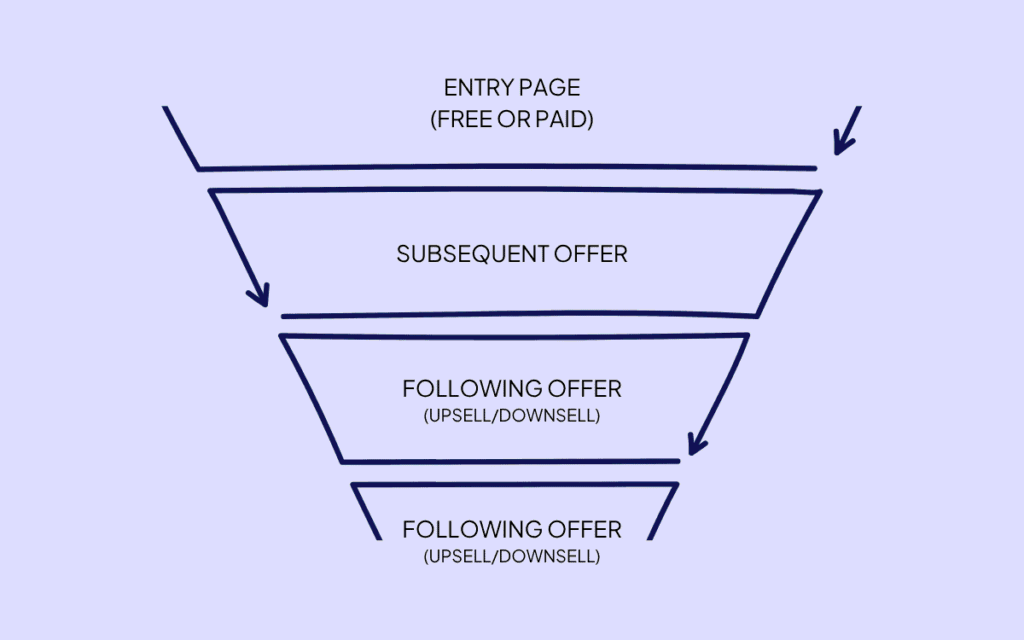
Without Funnels, here’s what happens: a customer buys your product, hits your confirmation page, and then leaves. It’s not necessarily the worst-case scenario—you made some money, and they got something valuable.

But there’s a very real chance you could have made way more than that by leading them through a series of offers that tailor their customer experience. That’s Funnels in a nutshell.
How to Create A Stan Store Funnel
Now, before we get started, remember: what I’m about to show you is just one of many possible ways a Funnel can look. Because technically, there isn’t one right way to do it.
Your Funnel will look different from mine depending on your niche, your products, your price points, and your audience. So take notes, then go build yours and make it your own.
Now, let’s get building.
Step 1: Enable Funnels in Your Stan Store
First, head to your Stan Store, scroll to the bottom of the left-hand side panel, and click More.
Then, at the top left, you’ll see Funnels—it’ll be grayed out by default. Toggle it on so that it’s highlighted purple.
Once it does, you should see Funnels populate in your left-hand side tab. Click there, and then press Create Your First Funnel.
And just like that, you’re in.
Step 2: Map Out Your Funnel Structure

Before we start building, I want to walk you through a framework I call the Y-shaped Funnel. The whole premise is that you can give your customer two different routes depending on whether they purchase a product—one route if they do, and another if they don’t.
These routes are called upsells and downsells. And together, they help you cover every scenario.
For example, here’s what this specific Funnel looks like across four pages:
- Page 1—A free lead magnet. Your entry point.
- Page 2—A $19 ebook. The decision point. This is where the Y splits.
- Page 3—If they buy the ebook, they see a $47 course. That’s your upsell.
- Page 4—If they skip the ebook, they see a $69 one-on-one coaching call. That’s your downsell.
The beauty of this setup is that no matter what your customer does at that decision point, you have a next step ready for them.
So before you start building, think through how you want to structure your Funnel.
Step 3: Build Out Your Funnel Page by Page
Now that you’ve mapped out your Funnel structure, it’s time to actually build it out—page by page, offer by offer. Here’s how each page comes together inside your Funnel.

Page 1: Entry Page
Select the product you want to use as your entry point from the drop-down menu, starting with page one. For me, that’s a free lead magnet—a free download I’m giving away in exchange for an email.
Your entry point doesn’t have to be free—you can also start with a paid product. It ultimately comes down to what works for your business.
Once you’ve selected your product, go ahead and customize your button text.
Page 2: The Decision Point
Page two is your subsequent offer—the most important page in the whole Funnel. This is where your customer decides which direction they’ll take, based on whether they buy your core offer.
For our Y-shaped Funnel example, this is the $19 ebook. You can add your product and customize the top banner section, which will show up at the top of the page after a customer completes the entry page.
Once you’ve added your subsequent offer, you’ll have the option to add upsell and downsell paths.
Page 3: The Upsell Path
On the purchase path, you’re going to add your upsell. This is the page that shows if your customer decides to buy that second offer. In this case, that’s the $47 course. This is the “yes” path—they’re buying in, so show them even more value.
Again, you can customize the top banner and button text. Once everything looks the way you like, hit publish.
Page 4: The Downsell Path
Now, we’ll go back to page two to add your downsell. This is the page that shows if they decide to skip buying the ebook—and it’s where the magic happens.
You see, instead of making zero dollars from a skipped offer, you can still monetize by offering your customer something different—something that matches where they are.
Now, before you create your downsell page, I want to call out that your downsell doesn’t necessarily need to be a lower price than page two’s subsequent offer. It just means that this is the offer shown if someone skips that offer—which, in this case, is a $69 coaching call.
Once everything looks good, press publish.
Pro Tip: Funnels aren’t one-size-fits-all. You can build four-, five-, six-plus-page Funnels depending on your business. The key is to always show the next best offer based on what your customer actually does—not what you hope they’ll do.
Step 4: See It From Your Customer’s Point of View
Before you share your Funnel with your audience, let’s take a moment to preview it and make sure it’s working exactly as intended.

You can do this by selecting the preview button at the top of your Funnel page. Once you’re in preview mode, you’ll want to test each of the various routes a customer could potentially take when visiting your Funnel.
Here’s how this plays out with our example:
With scenario one, customers who buy the $19 ebook are immediately presented with the $47 course. If they grab that too, you’ve gone from a $19 transaction to a $66 one in a single checkout flow.
With scenario two, customers skip the $19 ebook. Instead of walking away empty-handed, you show them the $69 coaching call. You just turned a skipped offer into a sale at a higher price point.
And remember: From your customer’s point of view, this whole experience feels like they’re being shown the right offer at the right time. They don’t see the behind-the-scenes of your Funnel structure. They just see relevant, personalized offers showing up right when they’re in a buying state of mind.
That’s powerful—and when you set it up right, it can make you thousands of extra dollars on autopilot.
Step 5: Publish It To Your Stan Store
Now that we’ve previewed the buyer’s journey end to end, it’s time to push everything live to your Stan Store.
Scroll to the top right corner and click Publish to My Store. You’ll be automatically redirected to your My Store tab, where the Funnel URL is already ready to go.
From here, all that’s left is to customize how this Funnel shows up on your storefront. First, pick a style (button or callout). Then, select an image that goes well with whatever your entry page is.
And when you get to the text section, make sure you replace the word “Funnel” with a title and subtitle that reflect the first offer in your Funnel—something that makes sense for what customers are about to receive.
For me, the first page is a free guide, so the title becomes “Get My Free Guide Now,” and the subtitle becomes “Learn how to set up your Stan Store.”
Finally, hit publish and bam—just like that, your Funnel is live on your Stan Store.
And That’s Funnels From Start to Finish
There you have it—that’s Funnels in practice! At this point, you should have a live Y-shaped Funnel inside your Stan Store that matches your customer’s energy at every possible step and converts it into more revenue automatically 🚀
And remember: you don’t have to start with a massive or complex Funnel. A solid Funnel comes from a lot of testing and iteration, so start small and grow as you go.
Want more simple tips to grow your Creator business faster? Stan’s Success tab has everything you need—with more lessons and tutorials from Professor T. Try it yourself with a 30-day free trial of Stan Store.
FAQ: Stan Store Funnels
Yes! Funnels are a Creator Pro feature. If you’re on the basic Creator plan, you can try Funnels with a 30-day free trial before deciding to upgrade.
Absolutely! While the example here uses four pages, your Funnel can have up to 20 pages and include up to 5 levels of nested upsells and downsells to create a fully customized journey based on customer actions.
No worries—that’s where downsells come in. If a customer skips an offer, you can present them with an alternative offer that better fits their needs or budget.
Stan Store lets you preview your Funnel from the customer’s perspective by selecting Preview on the top-right section of your screen. It’s a great way to test every possible path and make sure everything flows smoothly before publishing.